The MongoDB Connection Manager helps developers connect to MongoDB servers quickly, securely, and with complete flexibility. Whether you're working locally or with a cloud-hosted MongoDB instance, this tool simplifies managing your connections, folders, and connection strings — all in one clean interface.
Introduction
Managing MongoDB connections manually can be tedious, especially when juggling multiple environments. The MongoDB Connection Manager UI makes this process seamless by offering an interface where you can configure, test, and organize all your MongoDB database connections.
Connect to MongoDB
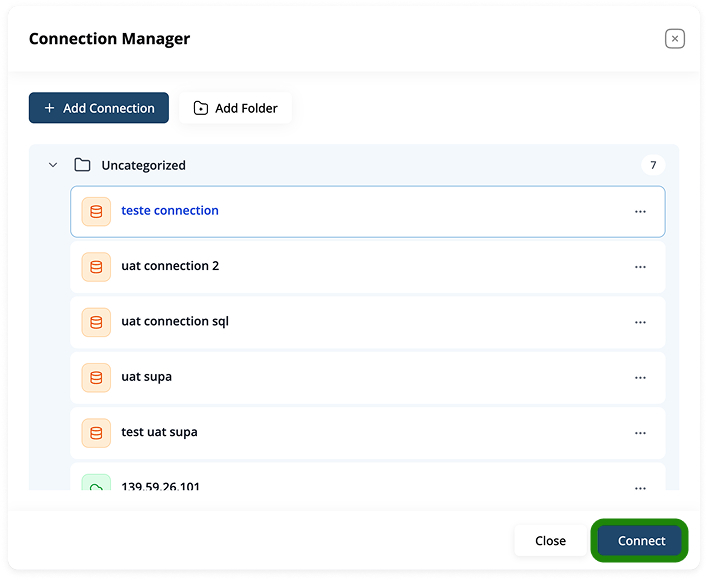
To Connect, click Connections icon on left side menu or New Connection card in quick Actions. You’ll be directed to a connection Manager form with all Connections available :

After that, Select the Connection which you want to connect and click on connect button below it, then you’ll be get connected to that server :
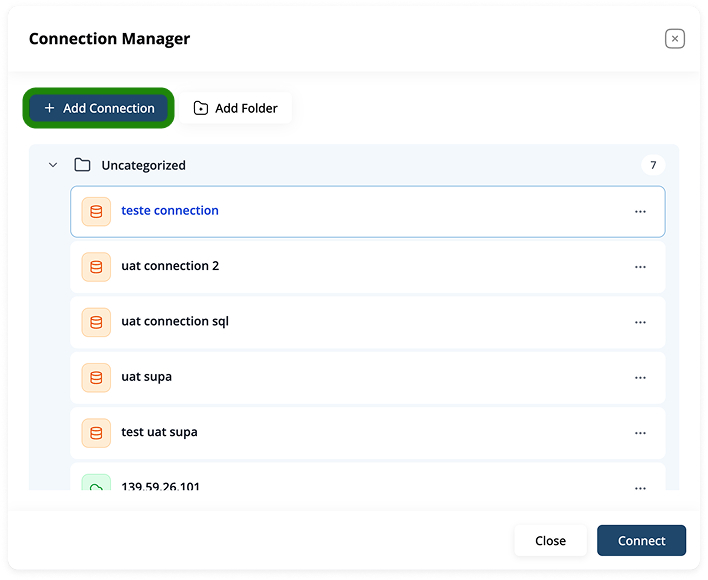
Creating a New MongoDB Connection
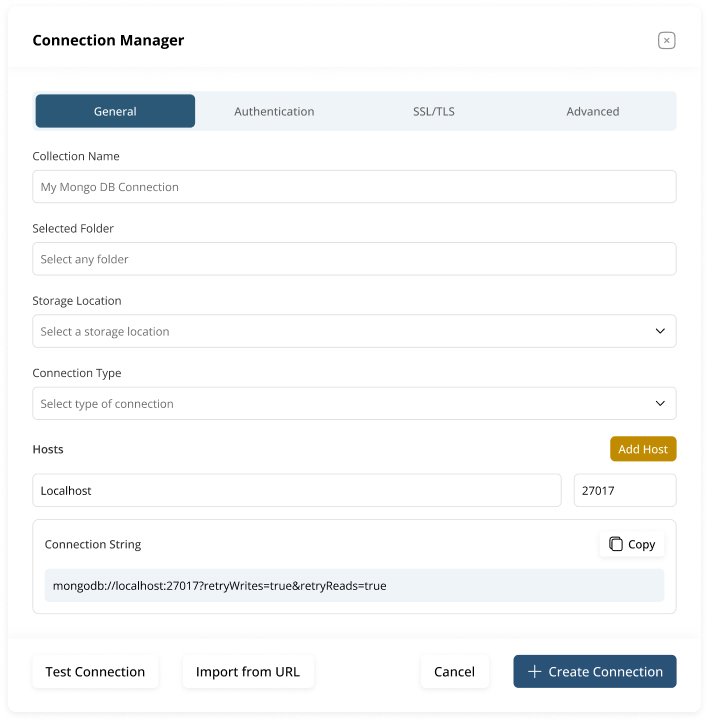
To get started, click + Add Connection. You’ll be directed to a connection setup form with multiple tabs:
- General
- Authentication
- SSL/TLS
- Advanced
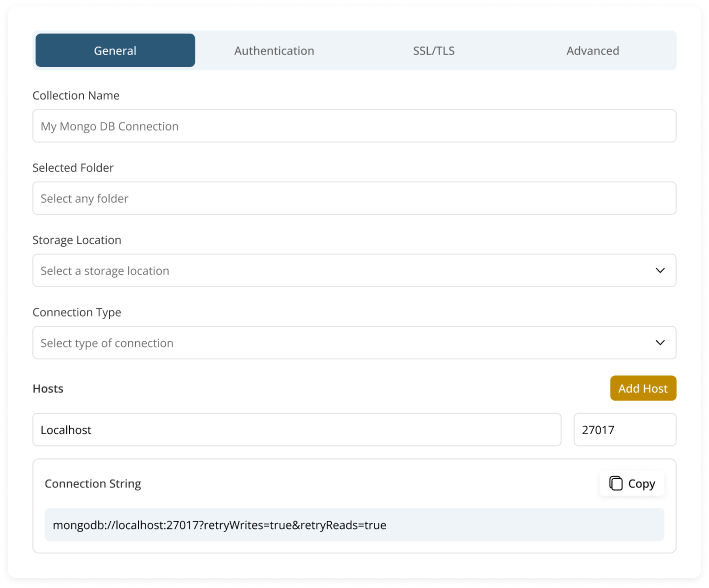
On the General tab, enter the following:
- Collection Name (e.g., My Mongo DB Connection)
- Selected Folder (optional)
- Storage Location (choose where the config is saved)
- Connection Type (e.g., Standard, SRV)
Under Hosts, input the hostname (localhost) and port (27017 for default MongoDB).
Understanding the Fields
Each field is essential for defining your connection setup:
- Collection Name: The friendly name of your MongoDB connection.
- Storage Location: Choose a location to store connection metadata.
- Connection Type: Determines the connection protocol (Standard or DNS SRV).
- Hosts: Enter one or more MongoDB host addresses.
Click Add Host to include replica set nodes or shared clusters.